A poorly lit commercial space costs you more than just a high electricity bill. It affects how employees work, how customers feel, and whether your building meets code. Understanding commercial lighting design basics gives you the foundation to make smarter decisions, whether you’re building out a new office, renovating a retail space, or upgrading an aging system in your Phoenix-area property. The difference between a space that functions well and one that doesn’t often comes down to how the lighting was planned from the start.
Good commercial lighting isn’t about picking fixtures off a shelf. It’s about layering different types of light, placing them where they actually need to go, and making sure everything aligns with local and national electrical codes. Skip any one of those steps and you end up with glare, dark spots, wasted energy, or a failed inspection. At AZ DC Electric, we handle commercial electrical installations across the Greater Phoenix Metro Area, so we see firsthand what works and what causes problems down the line.
This guide breaks down the core principles of commercial lighting design, the three essential lighting layers, layout planning strategies, energy efficiency considerations, and the code requirements that govern it all. By the end, you’ll have a clear framework for evaluating your own space and making informed decisions before a single fixture gets mounted. Let’s get into the fundamentals that actually matter.
What commercial lighting design basics include
Commercial lighting design basics cover more than just choosing bulbs and fixtures. A complete approach includes defining the purpose of each zone in your space, layering three distinct types of light, calculating correct light levels for specific tasks, selecting efficient fixtures and controls, and making sure everything complies with applicable codes. Think of it as a system with interdependent parts, where each decision affects the ones that follow.
Getting any one of these components wrong ripples through the entire design, creating energy waste, code violations, or spaces that simply don’t work.
The three layers every commercial space needs
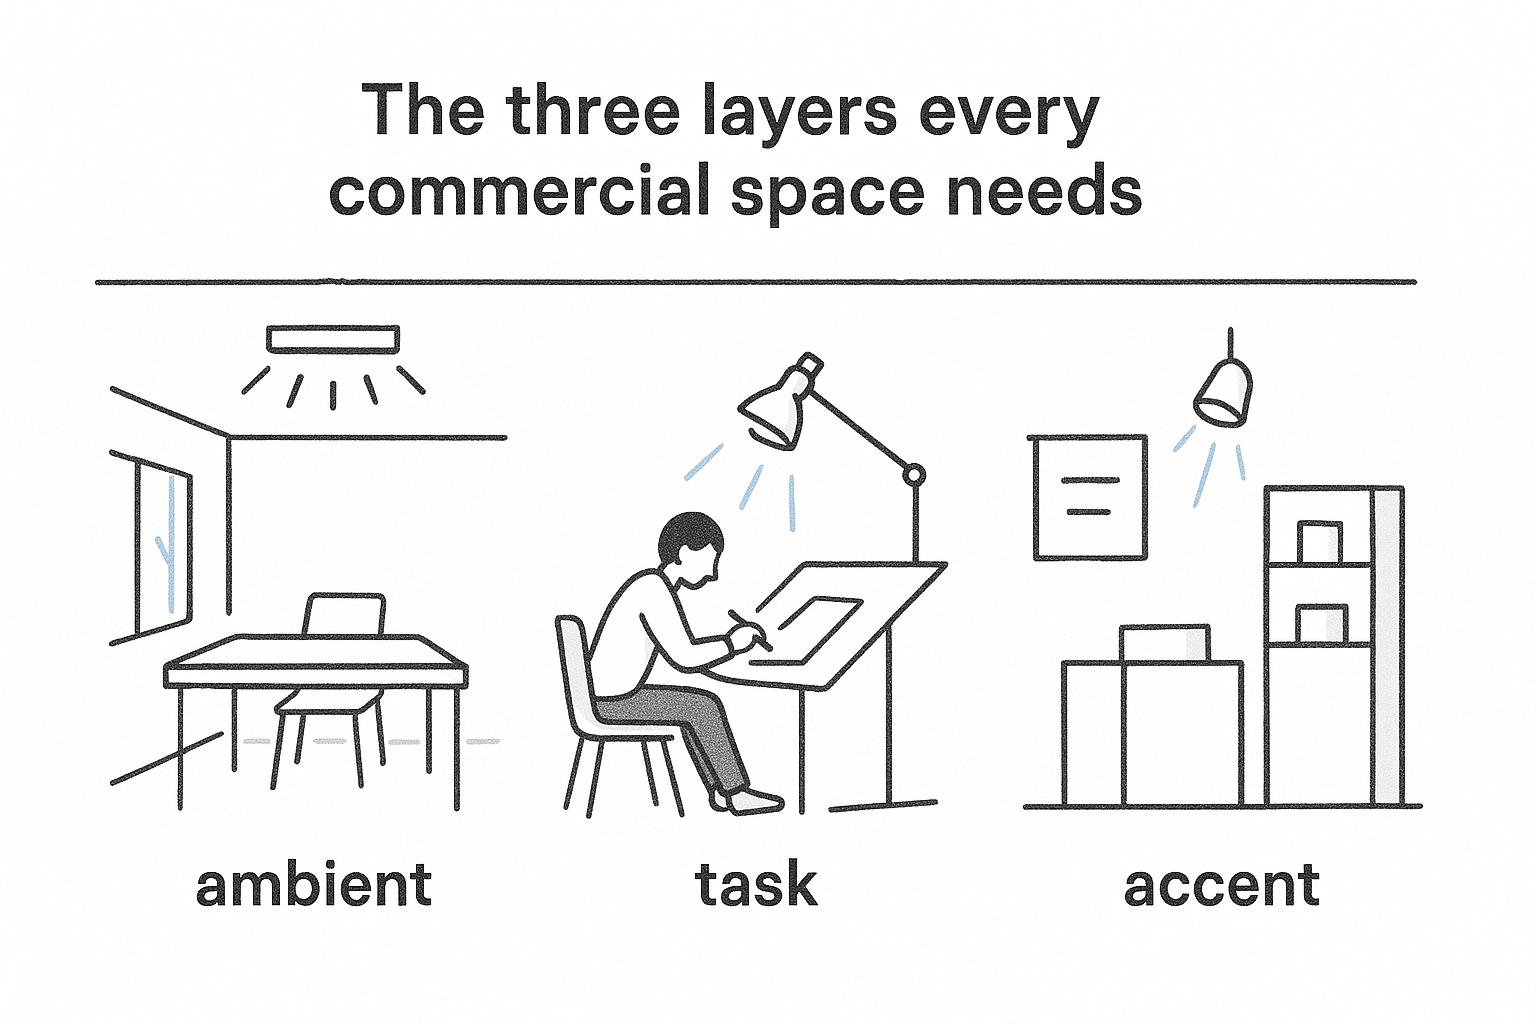
Every solid commercial lighting plan starts with three distinct lighting layers: ambient, task, and accent. Ambient light provides general illumination across the entire space. Task lighting targets specific work areas, like a drafting desk, checkout counter, or kitchen prep station, delivering higher intensity where precision matters. Accent lighting draws attention to architectural features, merchandise displays, or signage. A retail store, for example, might use recessed LED panels for ambient light, directional track lights to highlight product displays, and under-shelf lighting for task-level visibility at the register.
The planning components that connect it all
Beyond layers, commercial lighting design basics also involve four key planning components that determine whether a system actually performs:
- Footcandles and lux targets: the measured light level required for a given task or space type
- Fixture spacing and layout: how far apart fixtures need to be to achieve even, consistent coverage without dark zones or hot spots
- Controls and dimming: occupancy sensors, daylight harvesting, and dimmer systems that reduce energy use and extend fixture life
- Color rendering and color temperature: how accurately the light shows colors (CRI) and whether the tone feels warm, neutral, or cool for the intended environment
Each of these components connects directly to the next. Your fixture spacing affects footcandle levels. Your controls affect energy code compliance. Your color temperature affects how customers or employees experience the space. Understanding all of them together is what separates a functional lighting design from one that just fills a room with light.
Step 1. Define the space, tasks, and lighting goals
Before you pick a single fixture, map the space and identify exactly what happens in each zone. A commercial building rarely has one uniform purpose. An open-plan office contains collaborative areas, private workstations, and conference rooms, each with different lighting requirements. A restaurant has a kitchen, a dining floor, and a bar. Treating all of these the same way leads to under-lit work zones or over-lit spaces that hurt function and atmosphere. This is where commercial lighting design basics begin: with a clear picture of the space and its tasks.
Identify tasks and set measurable targets
Walk the space and list every distinct activity that occurs in each area. Then assign a target footcandle level to each zone. The Illuminating Engineering Society publishes standard recommendations, but this table gives you a practical starting point:
| Zone Type | Recommended Footcandles |
|---|---|
| Open office / general work | 30-50 fc |
| Detailed task work | 50-75 fc |
| Retail sales floor | 30-50 fc |
| Retail merchandise display | 100-150 fc |
| Restaurant dining | 10-30 fc |
| Kitchen / food prep | 50-70 fc |
Pinning footcandle targets to each zone before choosing fixtures keeps every downstream decision tied to real performance requirements.
Record these targets in a simple goals document you can share directly with your electrical contractor, which prevents costly scope changes mid-installation.
Step 2. Build a layered lighting plan
Once you have your zone map and footcandle targets from Step 1, you can start assigning the three lighting layers to each zone. This is where commercial lighting design basics move from theory into an actual working plan. Each layer serves a distinct function, and stacking them correctly means you can adjust intensity and focus without relying on a single fixture type to do everything at once.
Assign ambient, task, and accent to each zone
Start with ambient lighting first, since it sets the baseline illumination across the entire space. Recessed LED panels or linear suspended fixtures work well for most commercial ceilings. Then layer in task lighting at every workstation, counter, or prep area that needs higher localized intensity. Finally, add accent lighting where you want to draw the eye, such as merchandise displays, signage, or architectural details. Not every zone needs all three layers, but most benefit from at least two.
Treating each zone as its own mini-design keeps the layers organized and prevents one area from bleeding light into another.
Use this template to map layers to each zone before specifying fixtures:
| Zone | Ambient Fixture | Task Fixture | Accent Fixture |
|---|---|---|---|
| Open office | Recessed LED panel | Under-shelf LED strip | None |
| Retail floor | Linear pendant | Directional track head | Track spotlight |
| Conference room | Recessed downlight | None | Wall sconce |
| Restaurant dining | Pendant fixture | None | Directional spot |
Step 3. Set light levels and fixture spacing
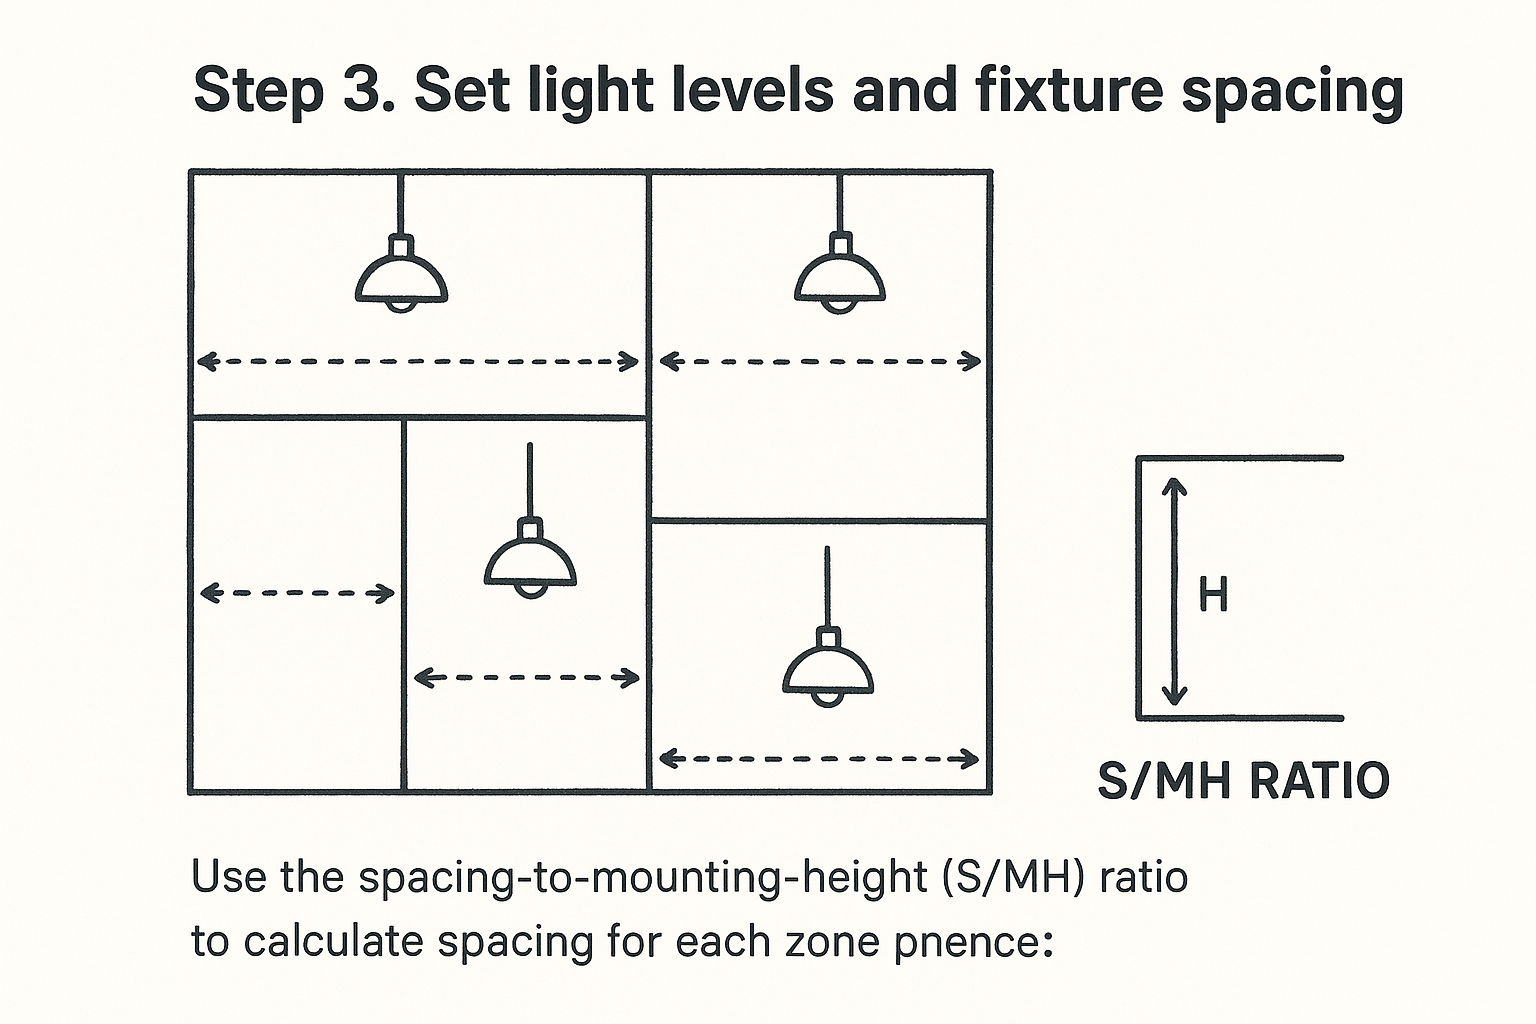
With your layered plan in place, the next task is to calculate fixture spacing so light distributes evenly across each zone. This is where many commercial lighting projects go wrong. Spacing fixtures too far apart creates dark zones between them, while placing them too close wastes energy and creates harsh hotspots. Commercial lighting design basics require you to work from two numbers: your target footcandle level from Step 1 and the fixture’s photometric data sheet, which every reputable manufacturer provides.
Use the spacing-to-mounting-height ratio
The standard method for spacing ambient fixtures uses the spacing-to-mounting-height (S/MH) ratio, which most fixture manufacturers publish in their spec sheets. Multiply the mounting height by the S/MH ratio to get the maximum distance between fixtures. For example, a fixture with an S/MH ratio of 1.5 mounted at 10 feet gives you a maximum spacing of 15 feet between fixtures.
Running these numbers before finalizing your ceiling plan saves you from expensive re-wiring after installation.
Apply the spacing formula to your floor plan
Use this quick reference template to calculate spacing for each zone in your space:
| Zone | Ceiling Height (ft) | S/MH Ratio | Max Spacing (ft) |
|---|---|---|---|
| Open office | 10 | 1.5 | 15 |
| Retail floor | 12 | 1.3 | 15.6 |
| Conference room | 9 | 1.5 | 13.5 |
Once you fill in your actual ceiling heights and fixture ratios, mark fixture positions on your floor plan before any wiring begins.
Step 4. Choose fixtures, controls, and light quality
With your spacing plan finalized, you can now select the actual fixtures and controls for each zone. This step is where commercial lighting design basics become tangible. Every fixture choice should trace back to the footcandle targets and spacing calculations you completed in Steps 1 through 3, not to aesthetics alone.
Pick fixtures based on performance data
Start with LED fixtures for every zone. They consume significantly less energy than fluorescent or HID alternatives, and most manufacturers publish detailed photometric data you can cross-reference against your spacing ratios. Pay attention to CRI (Color Rendering Index) when selecting fixtures. For retail and medical spaces, use fixtures rated CRI 90 or higher so merchandise and surfaces appear accurate under the light. For general office use, CRI 80 is acceptable.
Matching color temperature to the room’s function is one of the most overlooked decisions in fixture selection, and it directly affects how comfortable and productive the space feels.
Use this quick reference for color temperature selection:
| Space Type | Recommended Color Temp |
|---|---|
| Retail / merchandise | 3000-3500K (warm white) |
| Office / workstation | 4000K (neutral white) |
| Medical / industrial | 5000K (cool white) |
Add controls to meet energy requirements
Layer in occupancy sensors and daylight harvesting controls after fixtures are selected. These controls reduce energy consumption, extend fixture lifespan, and are required in many commercial zones under ASHRAE 90.1 and California Title 24 energy standards.
Step 5. Meet codes and commission the system
Your lighting plan only delivers full value once it passes inspection and performs as designed. Commercial lighting design basics always include a compliance and commissioning step, and skipping it exposes you to failed inspections, required rework, and fines that far exceed what proper planning would have cost upfront.
Understand the codes that apply to your project
Two standards govern most commercial lighting installations in the United States: ASHRAE 90.1 sets energy efficiency requirements including lighting power density (LPD) limits by space type, and the National Electrical Code (NEC) covers wiring methods, circuit protection, and installation safety. Arizona projects also fall under the International Building Code as adopted by the state. Your electrical contractor should verify which version of each code applies to your specific permit before a single wire gets run.
Confirming code requirements before installation begins prevents costly changes after rough-in is complete.
| Code | What It Governs |
|---|---|
| ASHRAE 90.1 | Lighting power density, controls |
| NEC | Wiring, circuit protection |
| IBC | General building and occupancy |
Commission and verify the system before sign-off
Commissioning means testing the installed system against your original footcandle targets using a calibrated light meter. Walk each zone and record actual readings at working-surface height, typically 30 inches from the floor. If readings fall outside your target range, adjust fixture aim, add supplemental units, or modify dimming setpoints before the inspector arrives. Document every reading so you have a baseline performance record for future maintenance comparisons.
Wrap Up and Next Steps
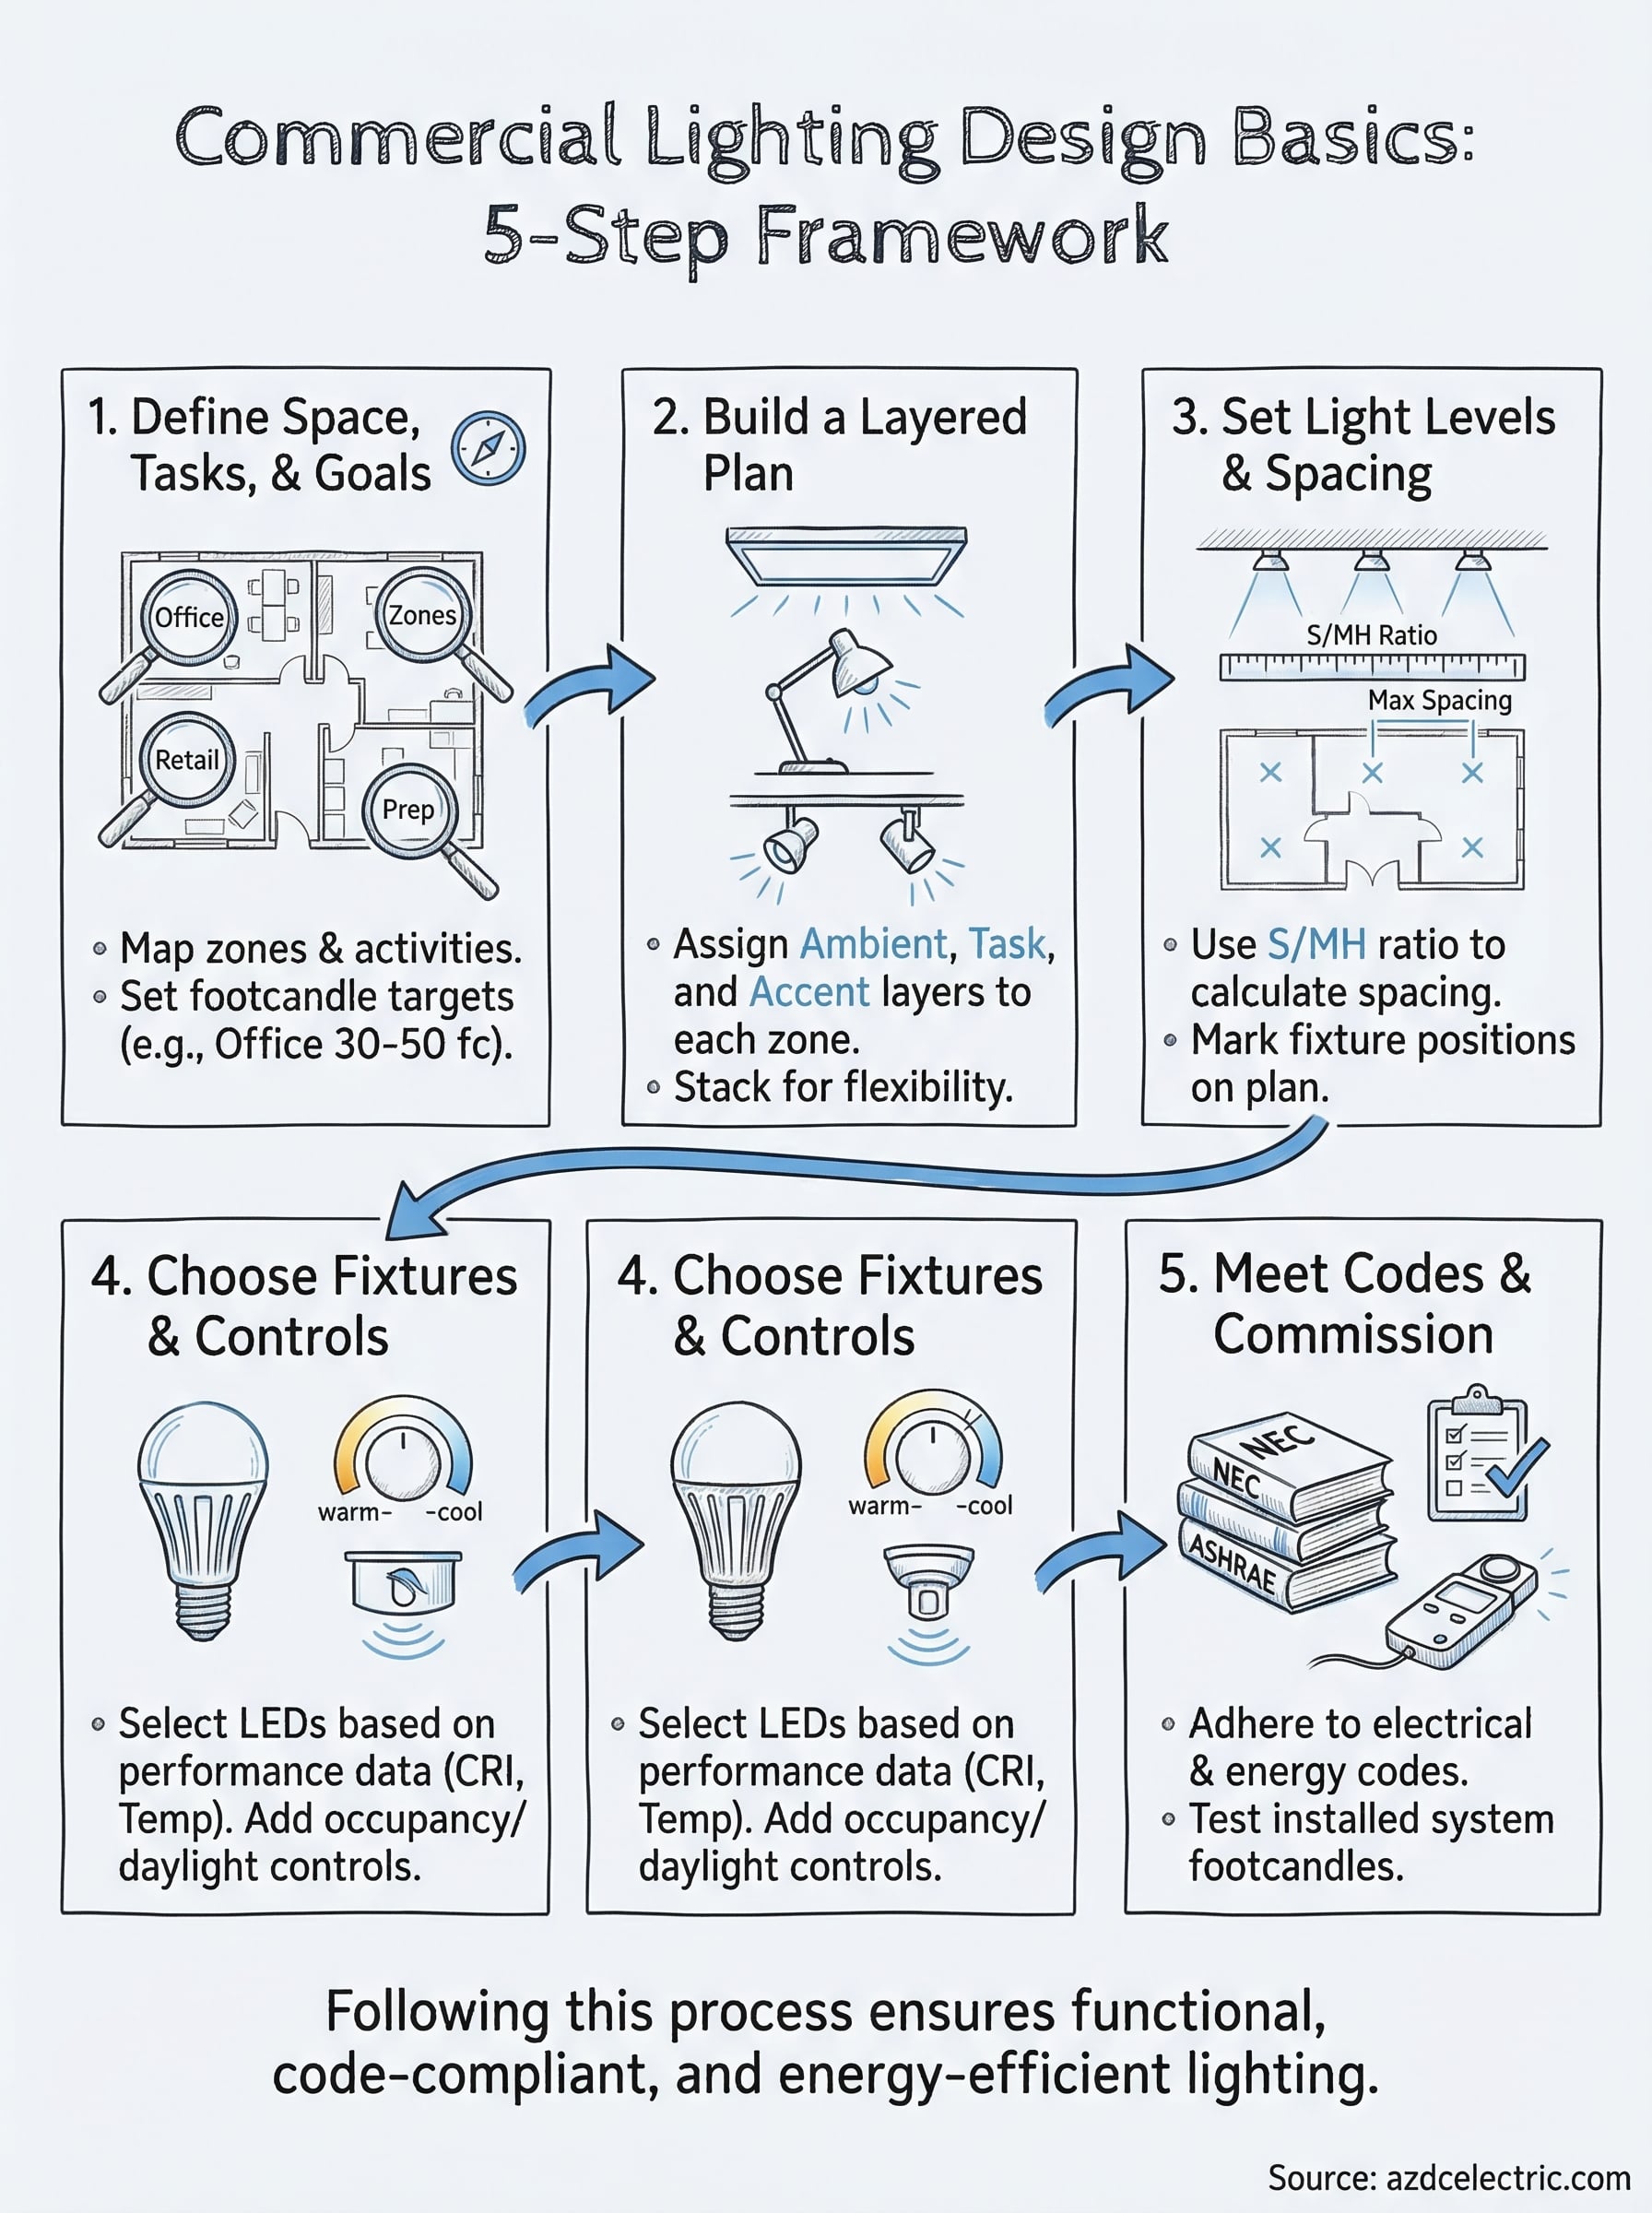
You now have a complete framework covering every core stage of commercial lighting design. Starting with zone mapping and footcandle targets, then layering ambient, task, and accent light, then spacing fixtures, selecting controls, and meeting code requirements, each step builds directly on the one before it. Skipping any stage leaves gaps that affect performance, energy costs, and code compliance. Following this process gives you a design that works from day one.
Putting these commercial lighting design basics into practice is much smoother when you work with an experienced electrical contractor who understands both the technical requirements and the local permitting process. If your Phoenix-area commercial property needs a lighting upgrade, panel work to support it, or a full new installation, contact the licensed team at AZ DC Electric to schedule a consultation. You get upfront pricing, licensed technicians, and a 5-year workmanship guarantee on every job.